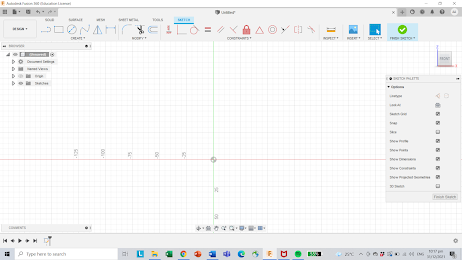
CAD
1. Create a sketch and select a plane to work on
2. Create a 2-point rectangle to serve as the main body of
the keyring (65mm x 25mm)
3. Select the offset option and click on the rectangle
4. Offset the sketch by 2mm
Figure 1: Step 4 (offset)
5. Select fillet and click on the 4 outer corners to round
off the corners of the keyring
6. Type 5mm for the radius
Figure 2: Step 5 (fillet)
7. Create a line
8. Right click on the line and select Normal/Construction
9. Select Dimension and click on both lines to define a 7mm distance
between them
10. Create a point in the middle of the line
11. Draw a 5mm circle from the point that was created. This circle
is where the ring will slot through.
Figure 3: Step 11 (Drawing the circle)
12. Create text
13. Type in your name, select font and adjust the height to
fit the keyring
14. Centralise your name accordingly
Figure 4: Step 13
15. Finish sketch
16. Extrude the base 3mm. Do not select the hole. This is to
make the sketch 3-D.
17. Hide all bodies from the browser and show your sketch
18. Select the border and your name and extrude it 1.5mm
19. From extrude menu select offset plane and type in 3mm
20. Show all bodies and hide your sketch
Step 1: Create a sketch and select your plane to work on
Step 2: Under the modify tab, select change parameters and specify the parameters for your design. My design follows the following parameters:
- Base Length: 100mm
- Thickness: 10mm
- Height: 175mm
- Extension: 20mm
- Width: 200mm
Step 3: Create a rectangle following the dimensions “Base Length” by “Thickness”
Step 4: Using the Line function, create a parallelogram following the dimensions “Thickness” by “Height” at an angle of 60o
Step 5: Create 2 points along the parallelogram, 10mm and 20mm above where the handphone support meets the base. This are the points where the extension holding the phone will be.
Step 6: Draw a line at each of the two points and set the length as “Extension”. Connect the two lines to form the base of the extension.
Step 7: Using the line function, draw another parallelogram with dimensions “Extension” by 10mm. This will form the front of the extension meant to prevent the phone from slipping off
Step 8: Using the extrude function, extrude the sketch by the dimension “Width” to make it into a 3-D sketch.
Step 9: At the centre of the base of the extension, create a 10mm by 20mm rectangle and extrude it by 10mm to create a hole. This hole allows the user to plug in a cable to charge their handphone.
While the steps above were to form a phone stand, I decided to personalise my phone stand by integrating the logo of one of my favourite comic book characters, the Punisher, into the phone stand. A photo of the logo and the final product of the phone stand is shown below.


Comments
Post a Comment